How Can We Help?
Remote Printer Setup
Remote Printing from Windows computers
To print from the remote PC system to your local system, you must first have a minimum version 2.2.1 of the host, and 2.2.1 of the join (viewer) installed. Once both the host and join are updated with that version, follow these instructions to print remotely:
Step 1.
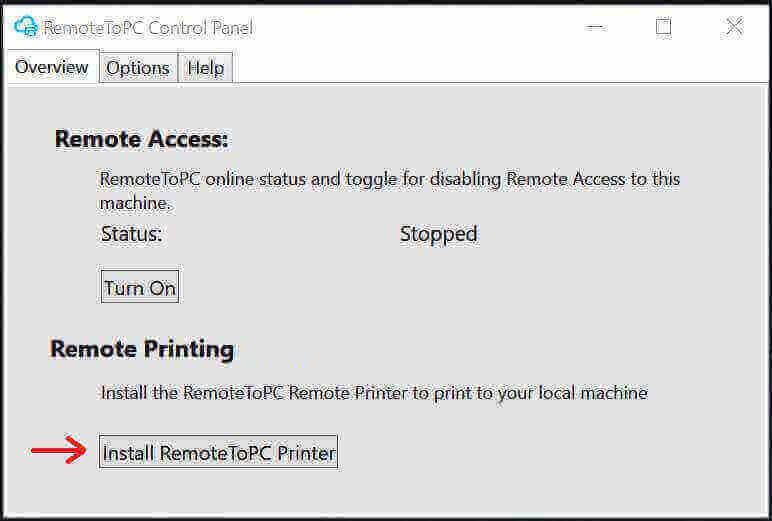
Install the RemoteToPC printer called “RemoteToPC Remote Print” on the host computer:
In order to do this, left click on the RemoteToPC cloud icon on your desktop to open the Control Panel and select “Install RemoteToPC printer”
Step 2.
Once the printer installation is finished, you’ll be prompted to restart this computer (which you must do) complete the installation:
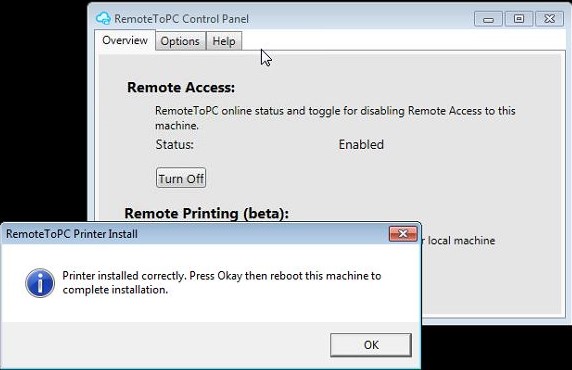
You need to reboot this computer (or in some cases a restart remote access will suffice) in order to move on to Step 3 and then printing from it.
Step 3.
Make sure that you’ve got a “default printer” selected on your local join (viewer) side computer. In Windows 10, you might need to uncheck the box to let Windows manage your default printer in order to set one up and have remote printing work correctly:

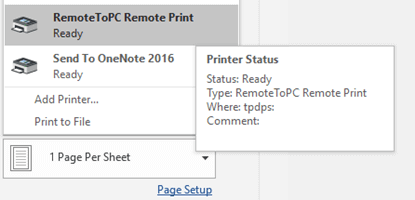
Step 4.
Once that’s been done, then from your remote session in any application that allows you to print something, print to the: “RemoteToPC Remote Printer” and the print job will print to your local systems default printer.